How to Manage Deadstick Approaches
How to make it to the airport when the engine quits
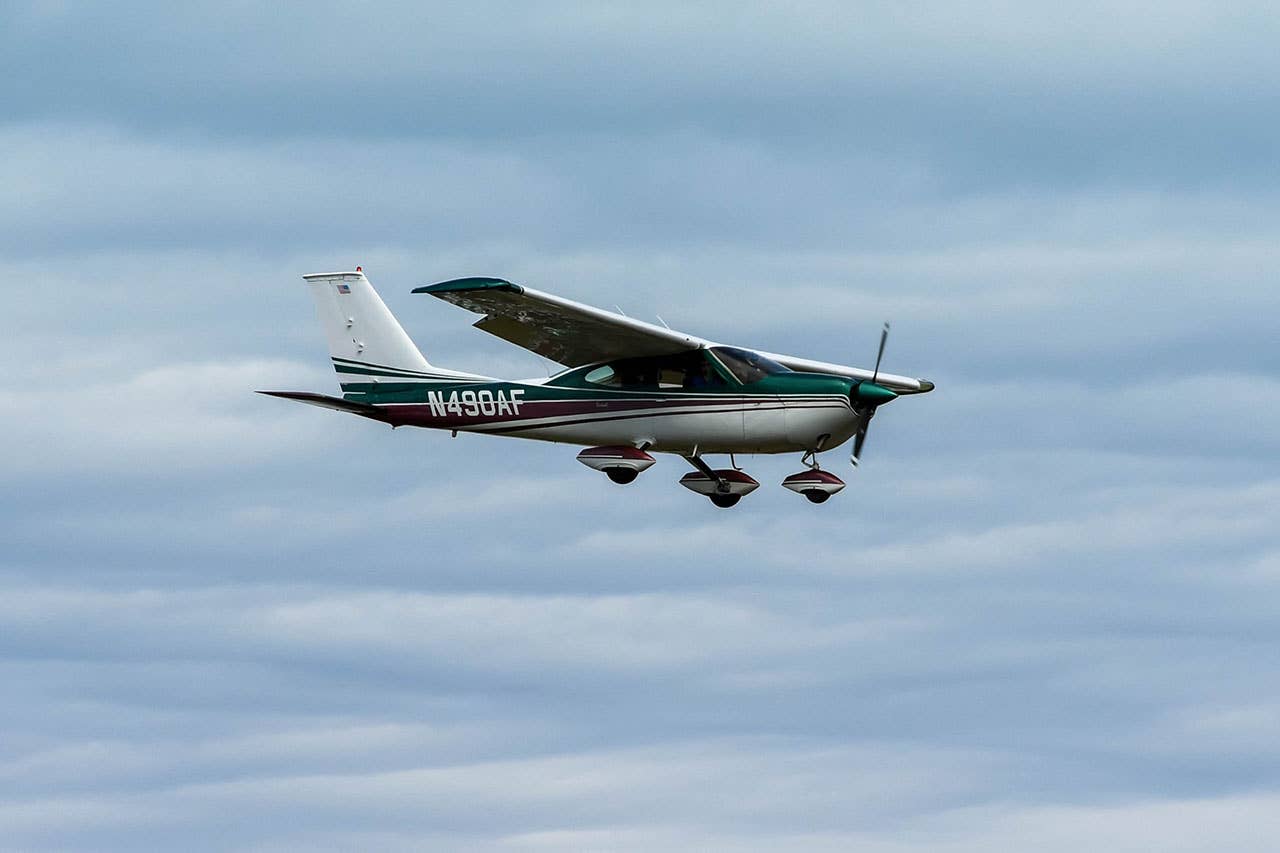
Most of the forced-landing training conducted in the early hours of our flying careers focused on "ya just lost your engine, pick a field." We went through the exercise---trimming for best-glide, turning toward an open spot, grabbing the fuel selector, boosting pump and carb heat---knowing full well that the CFI was going to give us the idling engine back before we got too low.
Such engine-out drills are okay, as far as they go, but they don't build the same level of confidence as bringing the airplane to a successful stop on the ground, intact and unscathed. I've long been a great believer in practicing some engine-failure scenarios at an airport, where we can continue the approach to touchdown. In his Mastery Flight Training blog, my friend and CFI of the Year Tom Turner addressed this subject in a recent weekly column (I highly recommend subscribing to and supporting his work), directly applying it to high-performance singles like Beech Bonanzas.
I think I began inflicting this sort of pain on my students after I started flying gliders. We knew each time we took off that we were going to lose our engine a few minutes into the flight, when the towplane at the other end of the rope left us, usually around 2,000 feet AGL. Our only option would be to silently work our way back to the gliderport, perhaps dallying with some thermals along the way.
In my powered-flight career, I've had four single-engine power failures, all but one of which ended up on an airport, none incurring damage other than to the offending powerplant. I admit to being one lucky stiff, in that I was in a good position each time, able to reach a suitable landing spot. However, even when you're within shouting distance of an airfield, a successful outcome still takes knowledge, familiarity and practice, requiring steps to avoid wasting the opportunity you've been given.
Ell-Over-Dee
If your airplane, god forbid, ever turns into a glider, you need to immediately establish flight at a speed that relinquishes altitude as stingily as possible. Glider pilots term this target number "best L/D," the speed at which the maximum lift is extracted from the wing and the minimum amount of total drag is being generated. Two related speeds can be considered; one is minimum-sink speed, usually just above stall, that keeps the aircraft in the air for as long as possible, and the other is maximum-glide performance speed, which generates the most forward distance for altitude expended. For airplanes, these closely correspond to Vx (best angle of climb speed) and Vy (best rate of climb speed).
Go to your airplane's operating handbook and look at "emergency procedures" to find the recommended best-glide speed; it may be slower than what you're used to flying in the traffic pattern with your engine running. Practice establishing the correct nose attitude and amount of trim needed to hold this speed, which will become your base number for any engine-out situation. The Piper Archer handbook shows 76 knots as the best-glide speed, the Cessna 172N book quotes 65 knots, and a Beech Bonanza A36 manual gives 110 knots. Bear in mind that these are normally determined at full gross weight; if you are significantly under max-gross, optimum glide performance will be achieved a few knots slower. Reduce your speed before relinquishing any precious altitude: "Slow down before you go down."
While establishing the proper glide speed, see if there is an airport within range, given your altitude. If you've been doing a proper job of flight management, you already know which airports are nearby. If you have the software readily at hand, bring up the "nearest" feature or employ the glide-ring overlay. As a nicely productive rule-of-thumb, begin with the presumption that you're able to glide 1 mile for each 1,000 feet of altitude above ground level. For most G/A singles, this is well achievable, but in every no-engine landing scenario, we want to stack the deck in our favor, so we'll start with minimal-expected capability.
"Even when you're within shouting distance of an airfield, a successful outcome still takes knowledge, familiarity and practice, requiring steps to avoid wasting the opportunity you've been given."
Making the Field
Let's say you're fortunate, and you find yourself at 10,000 feet AGL and there's a nice paved runway 10 miles away. Without hesitation, turn toward it; seconds count as wasted altitude while you're heading away from your objective. You may be aware that the wind will affect your glide ratio, in that a headwind steepens your descent angle, and a tailwind boosts it favorably. Thus, your gliding range is not circular but elliptical; glider pilots may speed up slightly to maximize their diminished glide in a headwind and slow down to ride a tailwind, starting from their base L/D speed. Given the lead-sled glide performance of typical-powered airplanes, you needn't obsess over this detail; concentrate, instead, on holding that best-glide speed. Most beginners allow the nose to dip and build up extra airspeed, which wastes the stash of altitude from which they're withdrawing.
Unless you're right on top of an airport, consider the alternatives if you come up short. Are there open fields between you and the airport you're trying to reach or some other survivable landing spot? It's better to put down in a wide-open off-airport site than to wind up on a city street a mile short of the runway. Perhaps you can land downwind if there's not enough altitude to permit circling into the wind or use an open-grass area on the airport. Be constantly evaluating your progress during your descent; winds often change with altitude, for good or ill.
Our objective is not to arrive in a straight-line descent to the runway threshold but to wind up above the airport, well higher than traffic pattern altitude, so as to allow maneuvering options. My preference is always to be upwind, over the departure end of the desired runway, so any uncorrected drift will carry us toward the landing target. How much altitude is enough? This is where knowledge of your aircraft becomes critical, determined by experimentation and practice long before it has to be put into action.
Finding Out What You Need
Your first task is to determine the airplane's power-off sink rate; trim for the best-glide speed and watch the VSI settle on a stable descent rate. Light singles may come down at 600 to 700 feet per minute; heavier airplanes will descend at 1,000 to 1,200 fpm or more. More importantly, you need to find out how much altitude will be lost in a full circle, as you hopefully use up the excess altitude remaining when you arrive over the field. Can you do a 360-degree turn, or do you need to head into a downwind leg right away? How much altitude are you going to need to make the 180-degree power-off approach?
Note the altitude as you begin your circle, hold the best-glide speed precisely, and read the altimeter when you finish the 360 to determine how many hundred feet you dropped. Round off to the next more pessimistic number. I can make a full circle in a training airplane while losing 700 feet. However, the final 180 degrees of a landing approach will require much more than 350 feet to execute in the same aircraft because we'll be deploying flaps and rolling in and out of base leg and final approach turns, both of which increase drag.
Invariably, beginners will want to make wide, lazy circles in their descents, burning up a lot of altitude per turn. Optimum gliding spiral performance will require at least a 30-degree bank angle, keeping the turn tight, so the circle is completed more quickly, resulting in less altitude lost even though the descent rate increases because the turn is completed more quickly. Bear in mind that the vacuum-driven attitude indicator may not show your actual bank angle; if your vacuum pump stopped turning with the engine, the gyro will be spinning down. If you want to correct for wind drift in order to maintain position over the airport, you might need to reduce bank to 20 degrees when heading into the upwind side of the circle and crank over to 40 degrees briefly on the downwind side. The risk of increased stalling speed from a 30-degree bank angle is negligible, as long the stall is not accelerated by sudden maneuvering or gust loads.
Planning the approach to the runway is crucial. Have your mind well ahead of the aircraft's present position at all times to keep the airplane in a position to have enough kinetic and potential energy (airspeed and altitude) to bring it safely to the runway. Through practice, you will learn how much altitude is required to fly from a point on the downwind leg abeam of the runway threshold, through a close-in base leg, and into a comfortably high short final. Don't be surprised if your heavy single needs to be at 1,200 to 1,500 feet AGL at the abeam point to make this happen. Learn to fly a tight traffic pattern rather than the leisurely airliner approach you're used to.
"How much altitude is enough? This is where knowledge of your aircraft becomes critical, determined by experimentation and practice long before it has to be put into action."
Pad Your Margins
Stay on the high side of your altitude margins throughout the approach; it's better to run off the far end of the runway at 20 mph than to impact terrain short of the threshold at 80 mph. Keep the airplane in clean configuration---gear up, flaps up, cowl flaps closed---until you've got the field definitely made. Tribal wisdom is to pull the constant-speed prop control back to high-pitch in an emergency landing to lessen windmilling drag, but that may not work if you've already lost oil pressure. Definitely do not do this when practicing an idle-power approach in case a go-around becomes necessary. When you extend retractable gear, the sink rate increases dramatically, so I generally leave the wheels up until I'm on a high base-leg position and limit flaps to a takeoff setting until turning final.
As you reach your abeam position on downwind, it's a good idea to increase the airspeed by 5 knots and deploy a small amount of flaps; along with maintaining extra altitude, these are "fudge factors" that can be drawn upon if you run into wind-shear during your approach.
If you see you've extended flaps too early and need to retract them to regain a clean glide angle, get it done right away because there will be an initial sag while the airplane restabilizes. Having a few extra knots of speed is good insurance.
When rolling out of the base-leg turn, if you sense that you've erred and are at risk of not making the runway, immediately turn straight toward the runway threshold, thereby reducing the distance to be flown over a nicely squared pattern. A last-second turn to line up with the centerline is more desirable than landing short. Fly exactly on best-glide speed, well above stall, and keep the gear and flaps up until they are absolutely needed.
As part of your emergency skillset, you should definitely practice engine-out arrivals to a quiet runway until you know how much altitude is required to fly a close-in traffic pattern with no help from the engine. If you maintain a healthy cushion over stall speed, there's no reason you can't put the airplane on the runway. If the Space Shuttle pilots could do it from FL2500, we can certainly do it in our airplanes.
Subscribe to Our Newsletter
Get the latest Plane & Pilot Magazine stories delivered directly to your inbox

